Understanding Wood Panel: Composition and Types
What is Wood Panel?
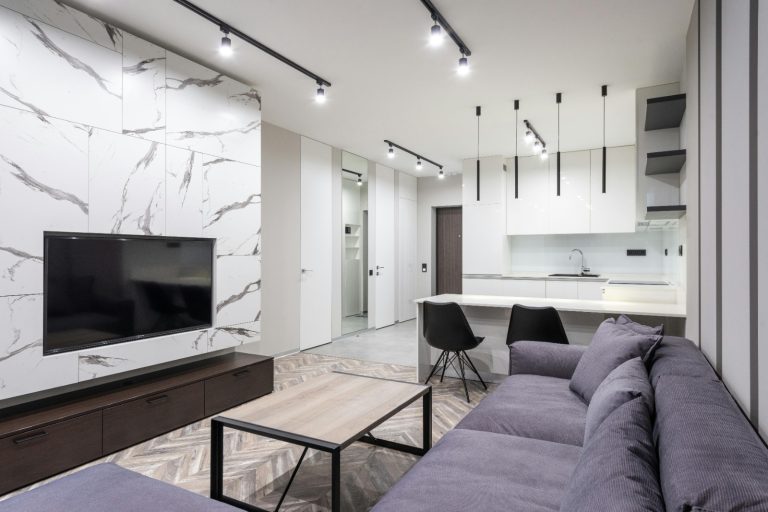
Wood panel refers to a flat, often rectangular piece made by gluing together thin layers of wood, veneer, particle board, or a combination of these materials. It’s primarily used in both structural and decorative applications, making it a versatile choice for various projects.
Wood panels can be found in residential, commercial, and industrial settings. They contribute to aesthetics and functionality, serving as walls, ceilings, furniture surfaces, and more. A well-chosen wood panel can elevate the design of any space, providing warmth and texture that other materials may lack.
Different Types of Wood Panel
There are several types of wood panels, each serving a specific purpose and offering unique characteristics. Below are the most common types:
- Plywood: Made from thin layers of wood veneers glued together, plywood is known for its strength and versatility. It’s highly durable and can be used for structural applications, furniture, and cabinetry.
- Particle Board: Created from wood chips, sawmill shavings, and wood shavings glued under heat and pressure, particle board is cost-effective and easy to work with. It’s often used in inexpensive furniture and cabinetry.
- MDF (Medium-Density Fiberboard): This is an engineered wood product made from wood fibers glued together. MDF is known for its smooth surface and is excellent for painted applications, making it a popular choice for trim and cabinetry.
- OSB (Oriented Strand Board): Composed of strands of wood that are oriented in specific directions and glued under heat, OSB is an economical option for structural applications like walls and roofs.
- Wood Veneer: A thin slice of wood that is glued onto core panels (such as wood, particle board, or medium-density fiberboard) to produce flat panels such as doors, tops, and panels for cabinets, parquet floors, and parts of furniture.
Choosing the Right Wood Panel for Your Project
Selecting the right wood panel for your project requires understanding its characteristics and the intended use. Here are factors to consider:
- Strength Requirements: For structural applications, plywood or OSB may be preferable. If lesser strength is needed, particle board or MDF may suffice.
- Cost: Budget constraints can influence your choice. Particle board and MDF tend to be cheaper than plywood.
- Aesthetic Preferences: If appearance is essential, opt for wood veneer or a high-quality plywood that can showcase rich wood grain.
- Environment and Moisture Resistance: Consider where the panel will be used. For high-moisture areas, marine-grade plywood or specially treated particle boards are ideal.
- Finishing and Painting: MDF is excellent for painting due to its smooth surface, whereas plywood may require more preparation.
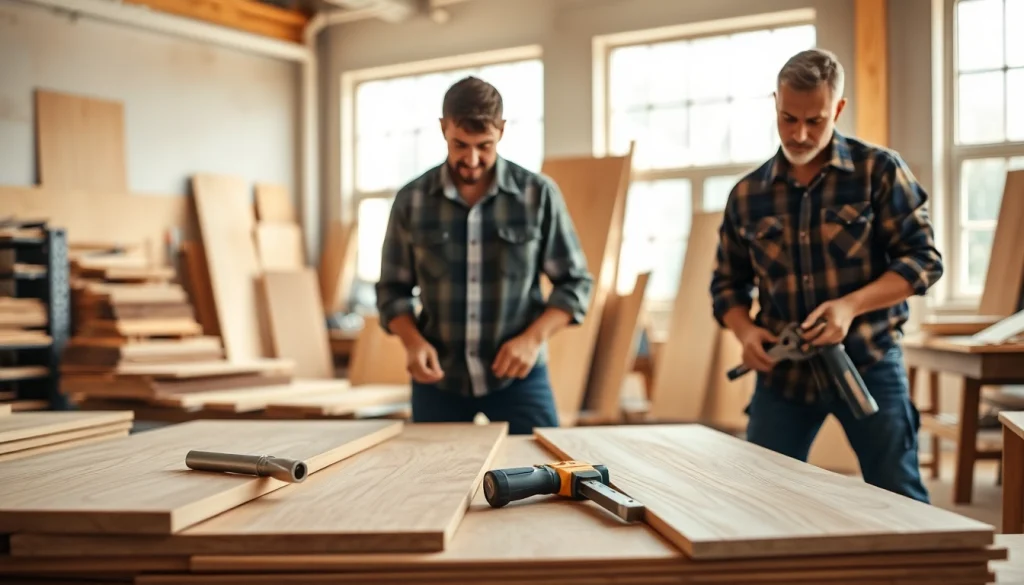
Essential Tools for Wood Panel Installation
Must-Have Tools for Wood Panel Projects
Successful wood panel installation requires the right tools. Here’s a list of essential tools you should consider:
- Measuring Tape: Accuracy is vital, making a measuring tape indispensable for ensuring panels fit properly.
- Utility Knife: Used for cutting thin materials like veneer or marking panels before cutting.
- Table Saw or Circular Saw: These are crucial for making straight cuts on plywood and MDF panels.
- Drill/Driver: Essential for driving screws and creating pilot holes to prevent wood splitting.
- Level: Ensures panels are installed straight and aligned.
- Stud Finder: Useful for locating studs in the wall to provide a strong anchoring point for panels.
Understanding Tool Functions and Uses
Each tool plays a significant role in facilitating efficient and reliable installation:
- Measuring Tape: A crucial tool for determining correct panel dimensions and ensuring consistent cuts and installations.
- Utility Knife: Perfect for light-duty cutting and trimming, helping to achieve clean edges on wood panels.
- Table and Circular Saws: These power tools allow for precision cutting, making them ideal for larger projects involving numerous panels.
- Drill/Driver: A versatile tool that can be used for both drilling and fastening, crucial for securely attaching panels.
- Level: Achieving precision in installation, ensuring visual attractiveness and structural integrity throughout the project.
- Stud Finder: Helps locate hidden structural elements like studs and joists, crucial for securely anchoring panels.
Safety Equipment for Wood Panel Work
Safety should always be a priority when working with wood panels and tools. Here’s a list of essential safety equipment:
- Safety Glasses: Protect your eyes from sawdust and debris.
- Hearing Protection: Reduces the risk of hearing damage when using loud power tools.
- Dust Mask or Respirator: Essential for avoiding inhalation of fine particles produced during cutting or sanding.
- Gloves: Protect your hands from splinters and sharp tools, but ensure you use them responsibly, especially around power tools.
- Steel-toed Boots: Offers foot protection against heavy pieces of wood or tools that may fall during installation.
Best Practices for Wood Panel Installation
Preparing the Surface for Wood Panel
Proper preparation of the surface where the wood panel will be installed is critical for achieving the best look and durability. Follow these steps:
- Clean the Surface: Ensure the area is free from dust, grease, and debris. This ensures better adhesion.
- Repair Damage: Fix any cracks or holes in the wall to create a smooth installation surface.
- Check for Level: Use a level to confirm the surface isn’t warped or bowed, which can affect panel alignment.
- Moisture Inspection: Check humidity levels; high moisture can lead to wood warping or mold growth.
Step-by-Step Installation Guide
To ensure a smooth wood panel installation process, follow this step-by-step guide:
- Measure and Mark: Use a measuring tape to determine the dimensions of the panels needed and mark the cutting lines.
- Cut the Panels: Use a table or circular saw for accurate cuts based on your measurements.
- Check Alignment: Before affixing, hold the panel in place to check for alignment and fit.
- Secure Panels: Use screws or adhesive to attach panels to the wall or structure, ensuring they are level and aligned.
- Finish Edges: After installation, use trim pieces to cover raw edges for a polished look.
Common Mistakes to Avoid
When installing wood panels, avoid these common pitfalls:
- Skipping Surface Preparation: Neglecting to prepare the surface can lead to poor adhesion and uneven appearances.
- Incorrect Measurements: Inaccurate measurements can result in wasted materials and additional costs.
- Using Inappropriate Fasteners: Ensure that the screws or nails used are suitable for the panel and the surface material.
- Ignoring Expansion Gaps: Wood expands and contracts; failing to leave expansion gaps can cause buckling in the panels.
- Overtightening Fasteners: This can cause the panels to crack or splinter. Apply just enough pressure to secure.
Finishing Techniques for Wood Panel
Preparing for Finishing with Wood Panel
Preparing wood panels for finishing is essential for achieving an attractive final product. Follow these tips:
- Sanding: Begin with sanding the surfaces to a smooth finish. Start with coarse grit and work your way to finer grits.
- Clean Dust: Remove all dust with a damp cloth to ensure a blemish-free finish.
- Seal Edges: Apply a primer or sealer to edges to prevent absorption of finishing products and seal potential moisture.”
Top Finishing Products for Wood Panel
Choosing the right finishing products can enhance the durability and appearance of your wood panels:
- Stains: Available in various colors, stains enhance the natural beauty of the wood grain.
- Varnish: A protective layer that adds gloss and protects the wood from scratches and moisture.
- Paint: Offers a variety of color choices, ideal for achieving a specific aesthetic while providing surface protection.
- Oil Finishes: These penetrate the wood and can provide a natural look while protecting against moisture.
Creating Unique Looks with Finishing Techniques
Finishing techniques can transform the look of wood panels. Here are some creative ways to achieve distinctive aesthetics:
- Layering Stains: Apply multiple layers of stains for a deep and rich finish.
- Whitewashing: Create a rustic or beachy look with a diluted paint wash.
- Texturing: Utilize techniques like rubbing with steel wool to create a unique texture before sealing.
- Accent Finishes: Consider using metallic or colored accents on trims to add an artistic flair.
Maintenance and Care for Wood Panel
Cleaning and Preserving Your Wood Panel
To maintain their appearance and functionality, regular care of wood panels is essential:
- Dust Regularly: Dusting with a soft, dry cloth prevents buildup and maintains appearance.
- Use Mild Cleaners: For deeper cleaning, a mixture of mild detergent and water works well. Avoid harsh chemicals that can damage finishes.
- Apply Conditioner: Periodically apply wood conditioner or oil to nourish the wood, especially if it appears dry.
Identifying Signs of Wear and Tear
It is crucial to monitor your wood panels for signs of damage; here’s what to look for:
- Scratches and Dents: These can be mitigated with fillers or sanding, depending on severity.
- Discoloration: Fading or uneven coloring may indicate a need for refinishing.
- Moisture Damage: Look for warping or swelling, which suggests exposure to excessive moisture.
Restoration Techniques for Long-Lasting Wood Panel
When restoration is necessary, consider the following methods:
- Refinishing: Sand down the surface and apply fresh stain or finish to restore its original look.
- Repairing Dents: Use a damp cloth and iron to steam out small dents from wood surfaces.
- Resealing: Reapply sealants or protective finishes to maintain a moisture barrier on wood panels.
FAQs about Wood Panels
1. What are the main benefits of using wood panels?
Wood panels add aesthetic appeal, are versatile in applications, provide insulation, and are sustainable options when sourced responsibly.
2. How do I choose the best wood panel for my project?
Consider project requirements, including strength, moisture resistance, cost, and aesthetic preferences when selecting wood panels.
3. Can wood panels be painted or stained?
Yes, wood panels can be painted or stained to match design preferences, but ensure proper preparation for the best results.
4. How can I maintain my wood panels over time?
Regular dusting, cleaning with mild detergents, and periodic conditioning will help maintain the appearance and longevity of wood panels.
5. What should I do if my wood panels warp?
If warping occurs, assess moisture levels and consider restorative measures like sanding, refinishing, or replacing affected panels.